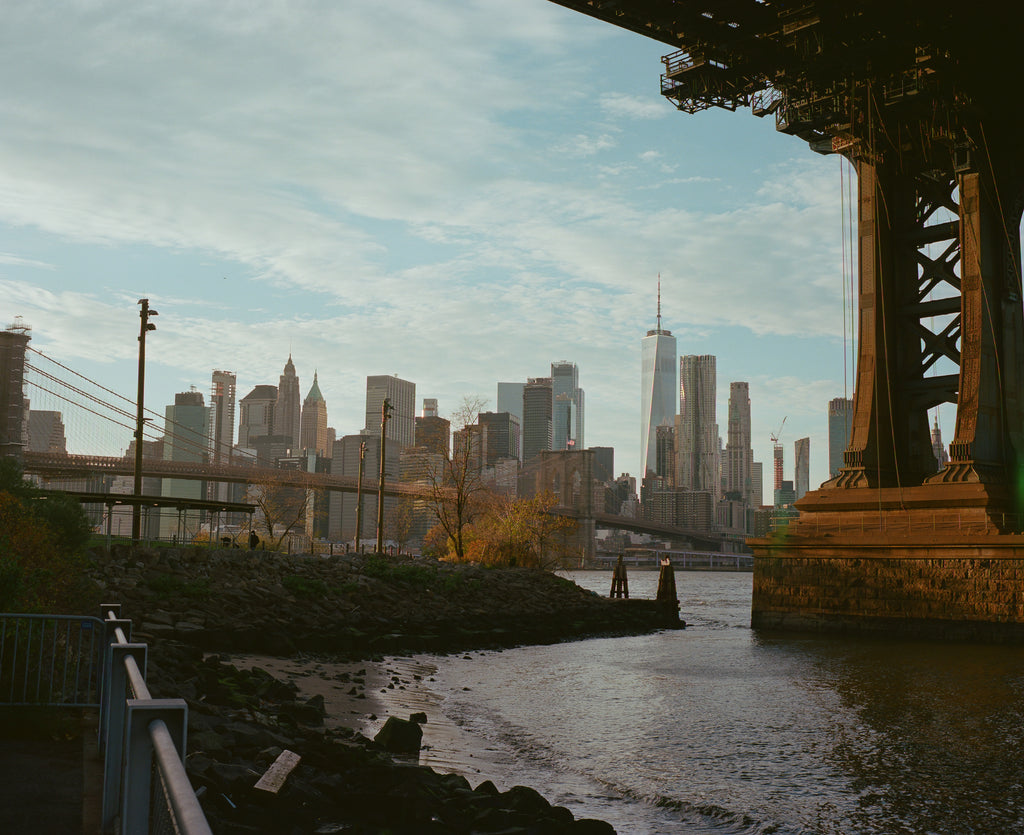
Ansel Adams is one of the most celebrated photographers in history, known for his stunning black and white landscapes. One of the techniques he developed and popularized is called the "zone system," which is a method of metering and controlling exposure to achieve precise tonal ranges in a photograph. Ansel Adams' zone system is a powerful method of metering and controlling exposure that can be especially useful in film photography. Film has a more limited dynamic range compared to digital sensors, making it more challenging to capture the full range of tones in a scene. In this blog, we'll explore how to use Ansel Adams' zone metering system in film photography.
What is the zone system in film photography?
The zone system in film photography is a method of metering that divides the tonal range of a scene into ten zones, from pure black (zone 0) to pure white (zone 10), with five zones in between representing various shades of gray. By identifying the different zones in a scene and adjusting the exposure accordingly, you can create a photograph with a full range of tones, from deep shadows to bright highlights, on your film negative.
How to use the zone system in film photography

Step 1: Use a light meter
To use the zone system in film photography, it's crucial to have an accurate light meter. You can use a handheld light meter that has spot metering capabilities or the built-in spot meter on your camera if it has one. There are light meter apps that exist but tend to be inaccurate but most of them can be calibrated by using an external light meter.
Step 2: Set your camera to manual mode
Set your camera to manual mode to have full control over the exposure settings. In film photography, the ISO is set by the film stock you're using, so adjust the aperture and shutter speed accordingly.
Step 3: Determine the zones in your scene
Identify the different zones in your scene, just as you would in digital photography. Take note of the brightest and darkest parts of the scene and what zones they fall into.
Step 4: Meter the brightest part of the scene
Using your light meter, meter the brightest part of the scene, which is typically the sky or another bright highlight. Adjust your exposure settings until the meter reads correctly for this area.
Step 5: Adjust the exposure for the other zones
Adjust your exposure settings to account for the other zones in the scene. Remember, in film photography, you cannot see the result immediately, so take note of your settings and the zones they correspond to.

Tips for using the zone system in film photography
- Start by practicing in a controlled environment before using the zone system in the field.
- Use a handheld light meter for greater accuracy in metering.
- Take notes of your exposure settings and the corresponding zones for future reference.
- Develop your film with care to preserve the tonal range you captured.
Conclusion
The zone system in film photography is a powerful method of metering and controlling exposure that can help you achieve precise tonal ranges on your film negatives. By identifying the different zones in a scene and adjusting your exposure settings accordingly, you can capture a full range of tones, from deep shadows to bright highlights. With practice and experimentation, you can use the zone system to create stunning photographs that take full advantage of the unique qualities of film.


